Modelling with ADOxx
The following sections contain information on various issues that can be encountered when using the Modelling Toolkit to model with ADOxx or ADOxx based tools and how they can be solved.
Parts of the User Interface are Very Small
Various parts of the ADOxx user interface, like toolbar icons, window / tool labels, menu items etc., are too small to be used comfortably.
Examples for issue:
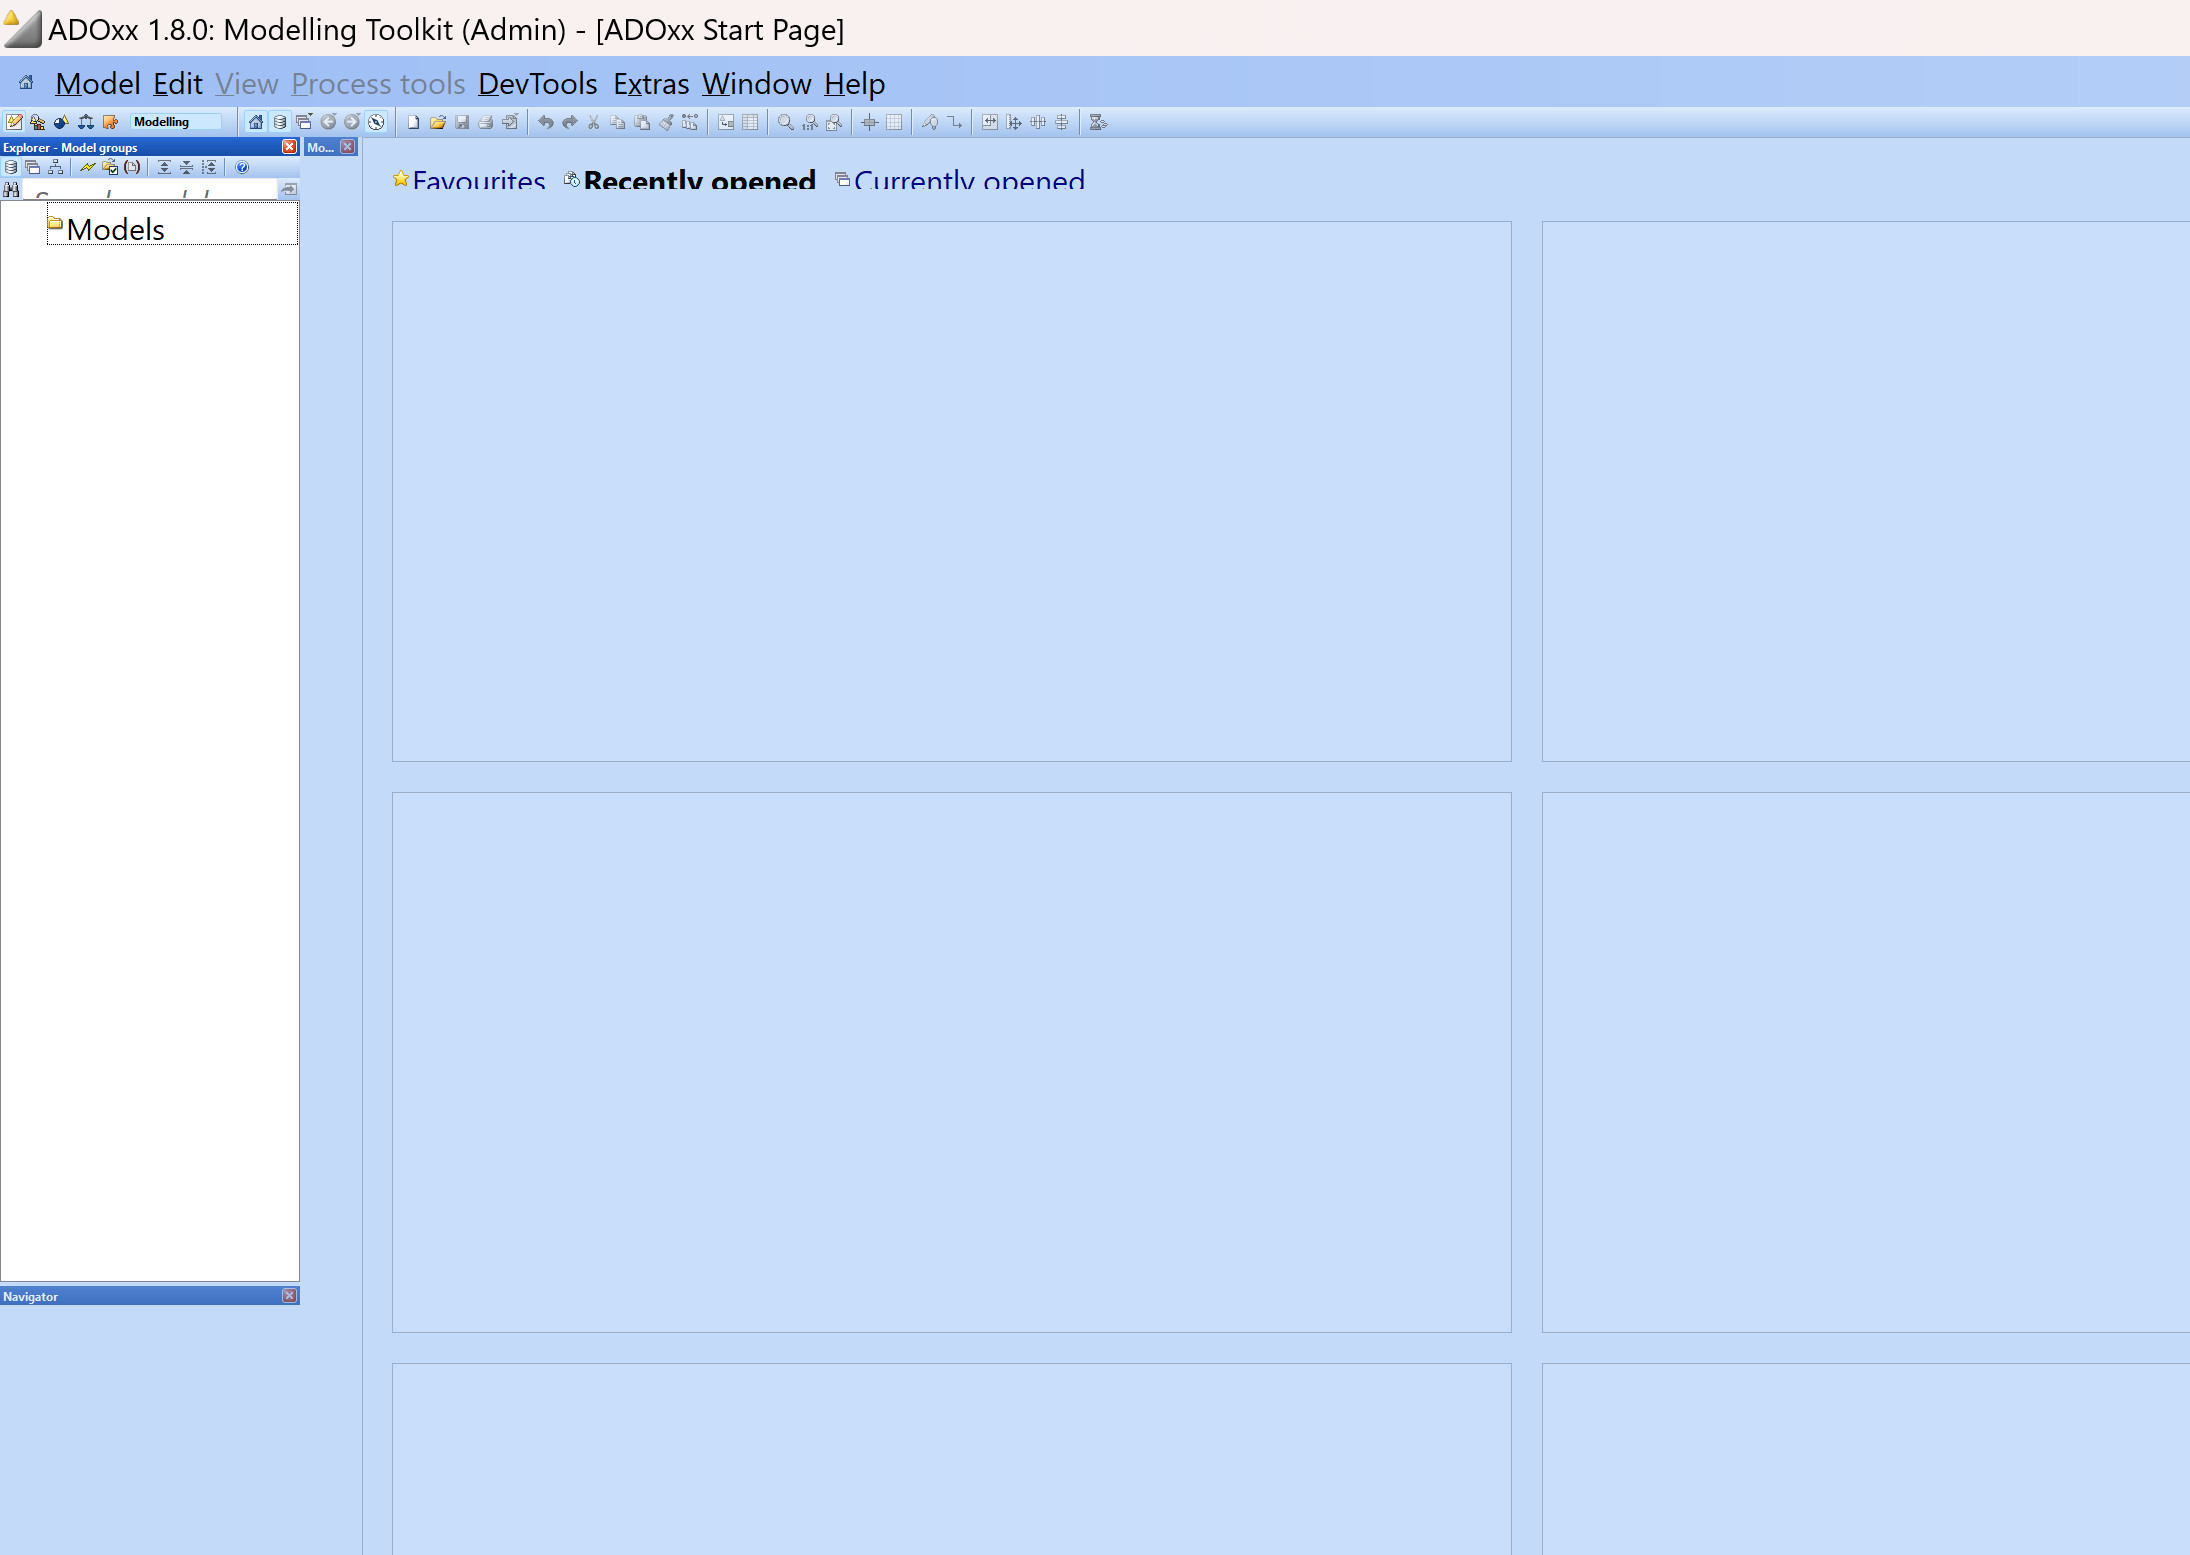
- Icons of the toolbar and the labels of some dockable windows are small, especially compared to other texts like the main window title, the menu labels etc.:
Resolving the issue:
This issue seems to mostly happen on screens that have a high amount of DPI (dots per inch; high resolution compared to screen size), typically with resolutions larger than 1920x1080 pixels on screens smaller than 13 inches. One solution is to change the high DPI settings for the application. On Windows try the following steps:
- Open the properties of the used application (
.exe) or shortcut to start the application.- For example on Windows 10, when the shortcut is pinned to the start menu: right-click the shortcut, select More -> Open file location and then right-click the shortcut and select Properties.
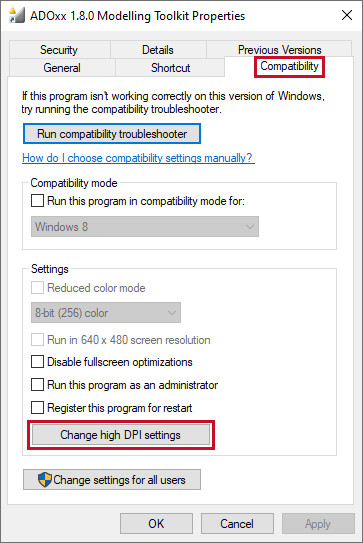
- Switch to the Compatibility tab and select Change high DPI settings:
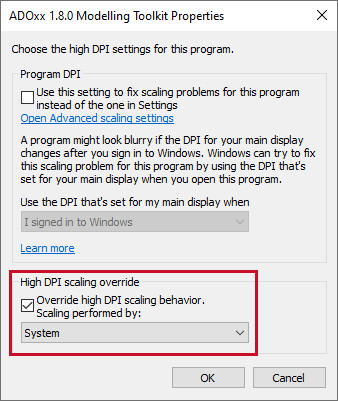
- Activate Override high DPI scaling behavior. and for Scaling performed by select System:
- Confirm the dialogs by selecting OK.
- Restart the application using the changed executable or shortcut.
No Model Groups are Available in the Modelling Toolkit
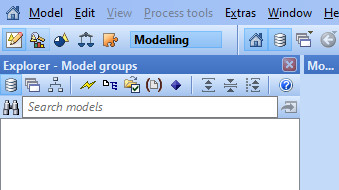
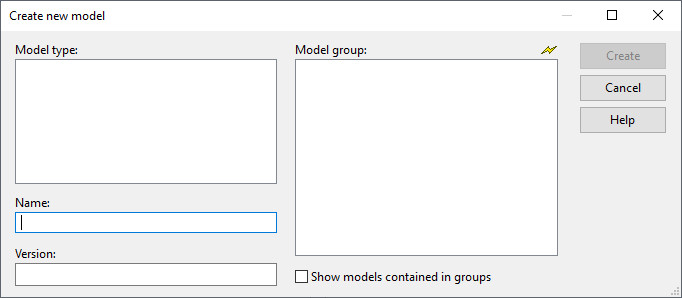
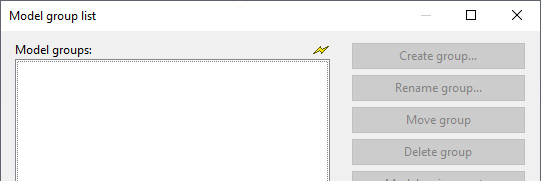
No model groups (folders / directories) are shown in various places of the Modelling Toolkit, like the Explorer, when trying to create a new model or in the model group list. This prevents for example creating new models, as these have to be assigned to a specific model group.
Examples for issue:
- No model groups are shown in the Explorer window
- No model groups are available in the "Create new model" window
- No model groups are visible in the "Model group list" window
Resolving the issue:
One reason for this issue is that the default "Models" root model group simply does not exist. During the setup / import of new libraries you are asked whether you want to create a default group "Models". If you select "No", then no root model group is created and thus not available in the Modelling Toolkit. Users of the Modelling Toolkit do not have the possibility to create new root model groups. It could also be that the "ADOxx" user group does not have the necessary permissions to access the root model group. Another cause for not seeing any model groups in the Modelling Toolkit is that the user it not assigned to the "ADOxx" user group.
To ensure that the root model group exists and that the user group "ADOxx" has the necessary permissions perform the following steps:
- Log into the Development Toolkit.
- Select the Model management component.
- Select Model group management, for example in the Models menu.
- Select the library corresponding to the user from the Modelling Toolkit. This should show a new window:
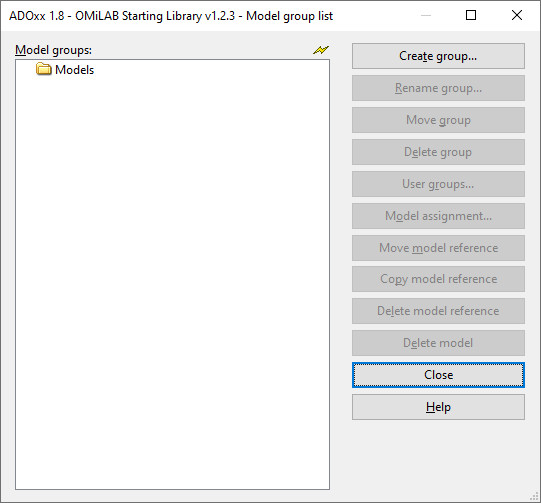
- If there is no model group, then create a model group using the Create group button.
- Ensure that the relevant user groups ("ADOxx") have the necessary access rights to the model group. To check and update the access rights select the model group and click on the User groups button. The icons next to the user group indicate the access rights, with a general prohibition sign indicating "no access", glasses indicating "read access" and a pencil indicating "read and write access".
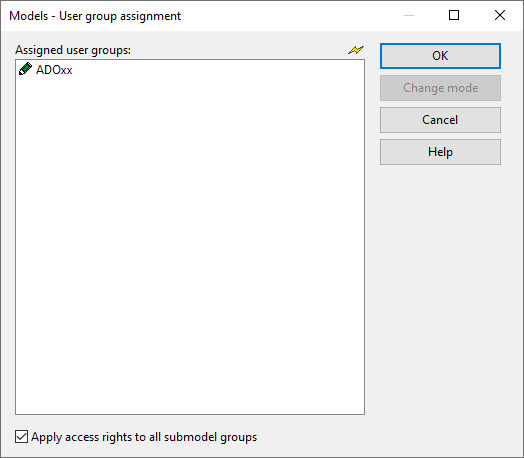
To ensure that a user is assigned to a user group perform the following steps:
- Log into the Development Toolkit.
- Select the User management component.
- Select User list, for example in the User menu.
- Double click on the corresponding user.
- In the following window click on the User group button.
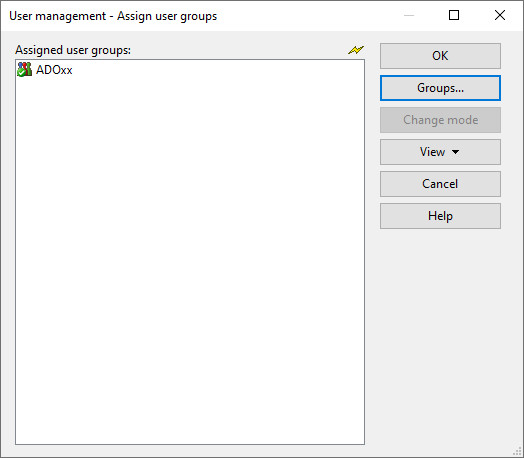
- In the next window make sure that the user is assigned to the "ADOx" user group. This is indicated by a green check-mark in the icon to the left of the user group.
