Using Microsoft SQL Server as DBMS on Windows
It is possible to use Microsoft SQL Server as an alternative to manage the database. This section describes the steps that deviate from the ones described in the Manual installation section.
Install Database Management System (SQL Server)
The description below focuses on a manual installation of SQL Server 2019 Express. For a mostly unattended automatic installation you can use this configuration file with the SQL Server 2019 Express installer. Details are provided as comments in the file. Should the automatic installation fail, then please resort to the manual installation below.
- Download and start the installer for Microsoft SQL Server 2019 Express.
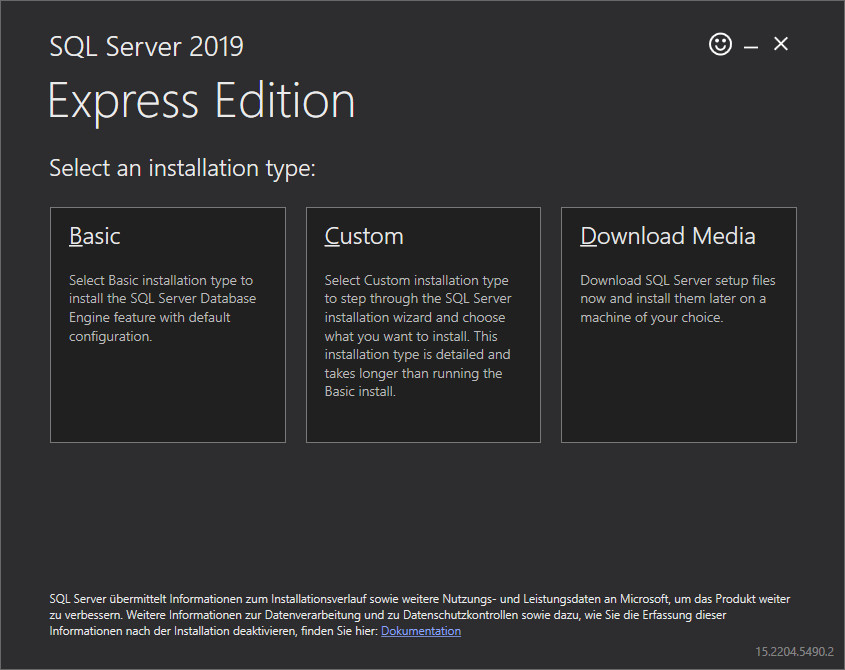
- Start the installer and select "Custom" installation.
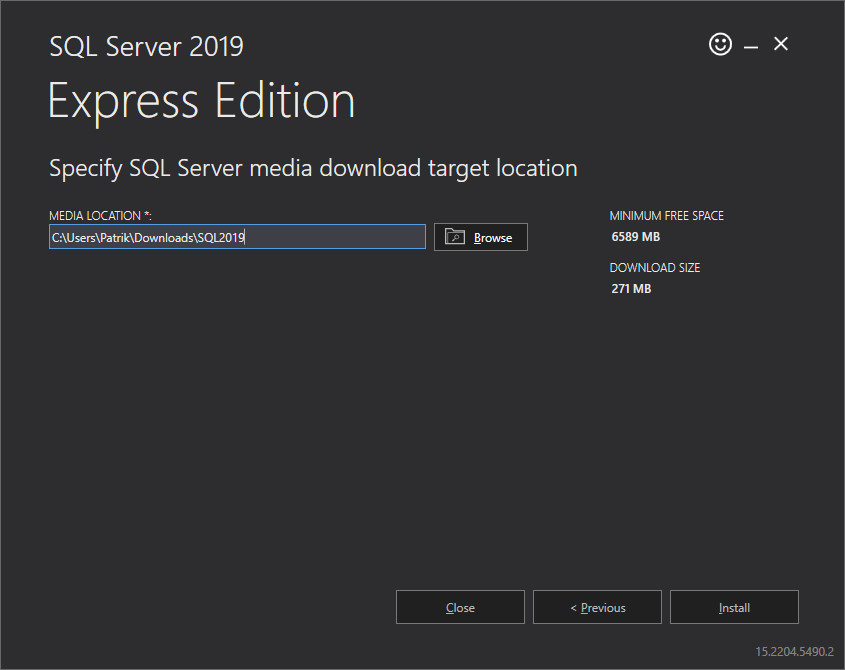
- Specify where the SQL Server setup files should be stored ("SQL Server media download target location") and select "Install".
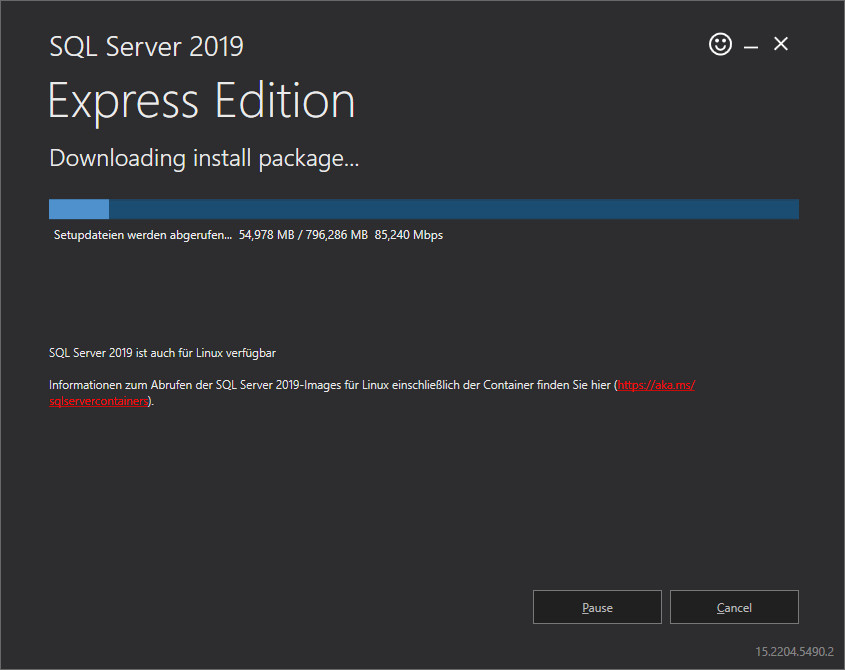
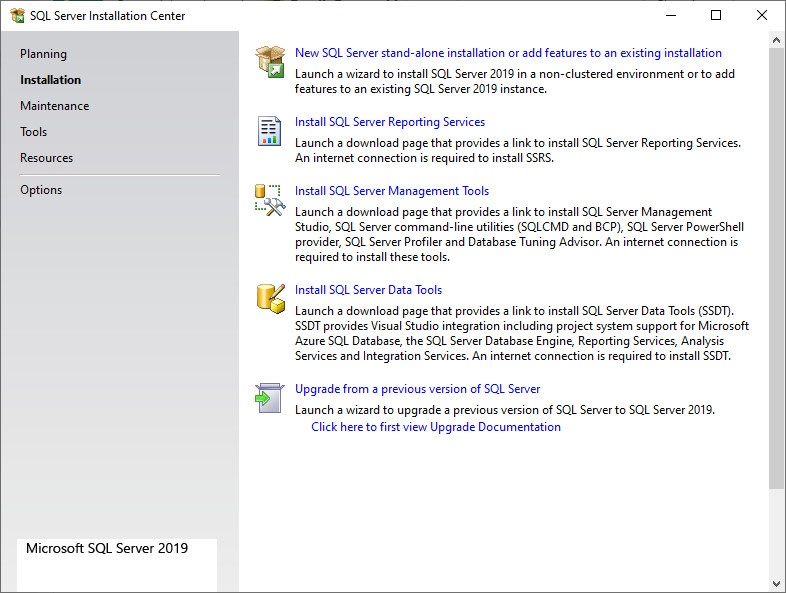
- After it finished downloading the setup files, a new window should appear, titled "SQL Server Installation Center". There, select "New SQL Server stand-alone installation or add features to an existing installation".
Following only the steps of the installation which require specific changes will be addressed. For all the other steps leave them as they are or perform reasonable selections. - At the "Installation Type" step select "Perform a new installation of SQL Server 2019". This step is skipped if no previous installation is present.
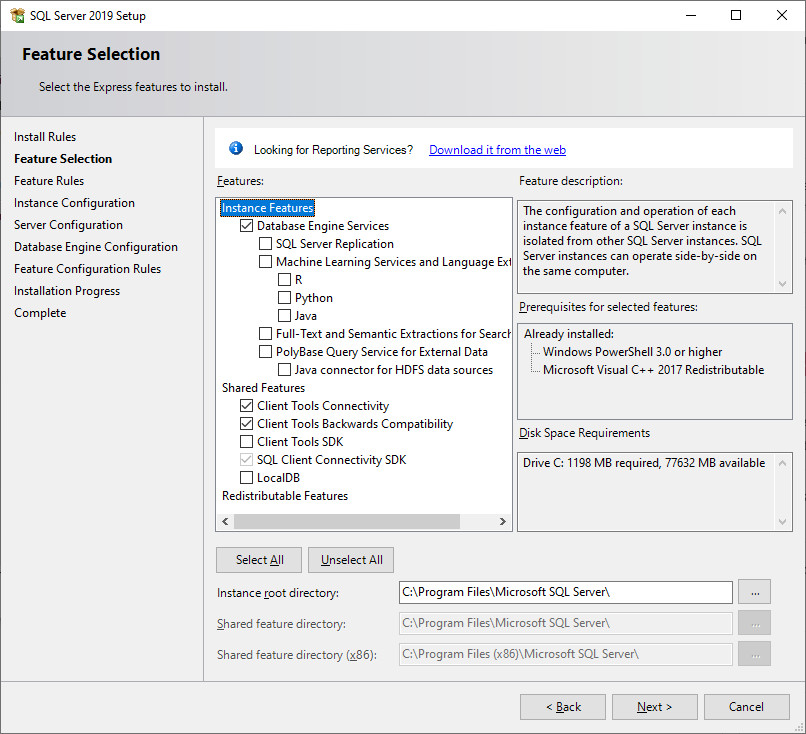
- At the "Feature Selection" step select at least the "Database Engine Services", "Client Tools Connectivity", "Client Tools Backwards Compatibility" and "SQL Client Connectivity SDK".
- At the "Instance Configuration" step select "Named instance", specify a meaningful name for the DBMS instance, e.g.
ADOXX_SQL2019, and use the same value for "Instance ID".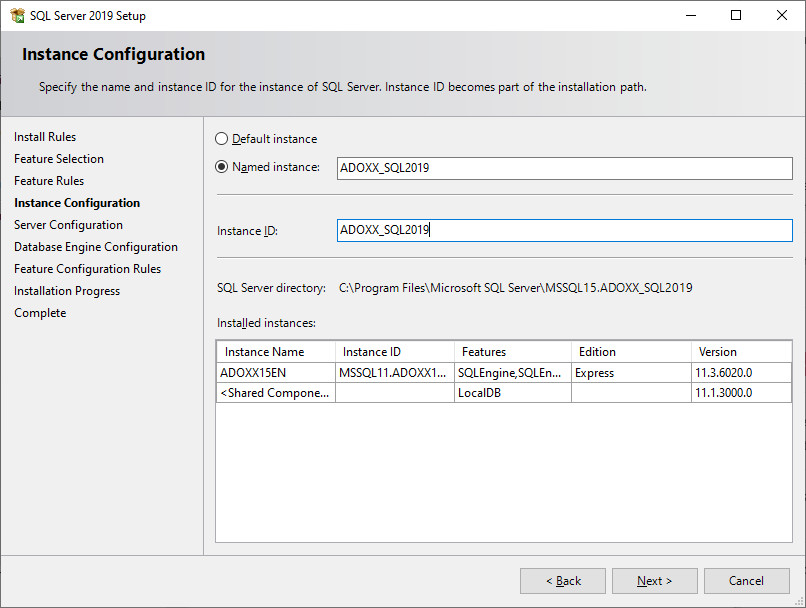
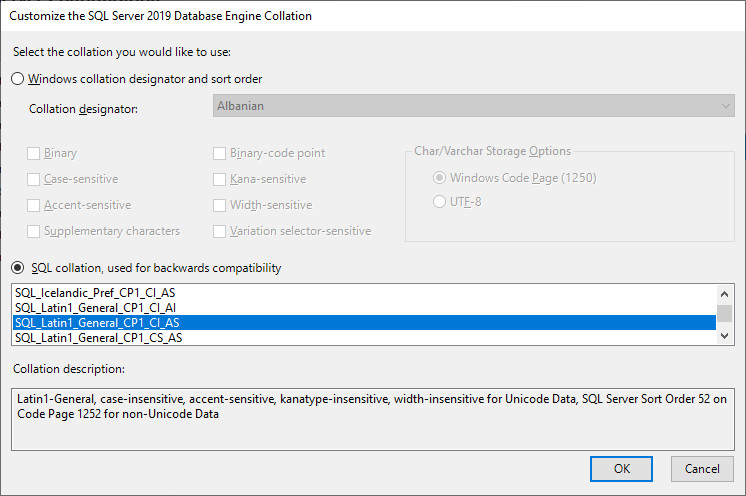
- At the "Server Configuration" step leave the values in the "Service Accounts" tab as they are. In the "Collation" tab specify for the "Database Engine" the value
SQL_Latin1_General_CP1_CS_AS. Through the "Customize..." button it is located under "SQL collation, used for backwards compatibility".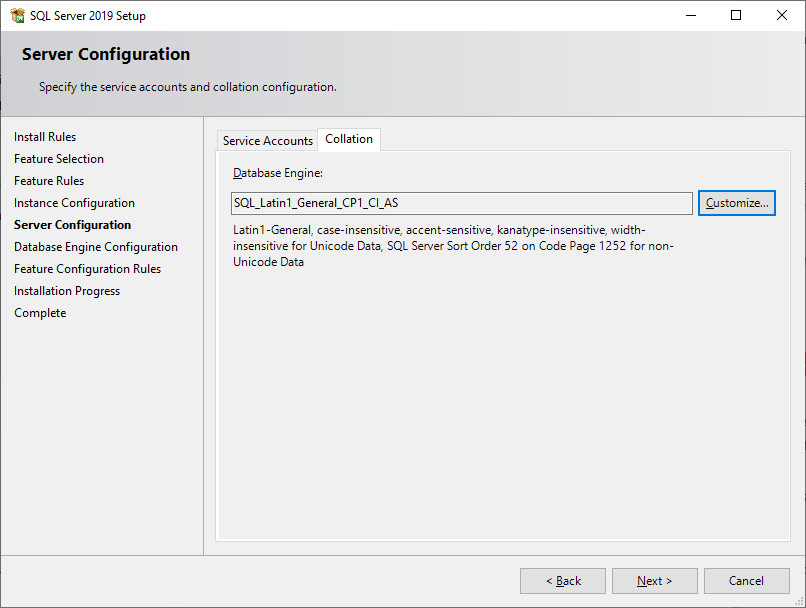
- At the "Database Engine Configuration" ensure that your user is part of the "Specify SQL Server Administrators" and select "Mixed Mode". As the password for the SQL Server system administrator (sa) enter
12+*ADOxx*+34. Thesauser is necessary for creating the ADOxx specific database users.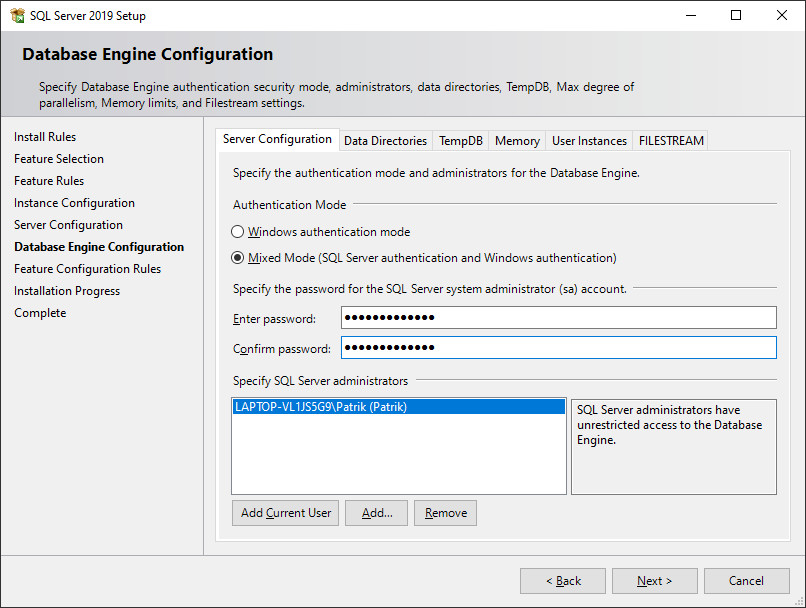
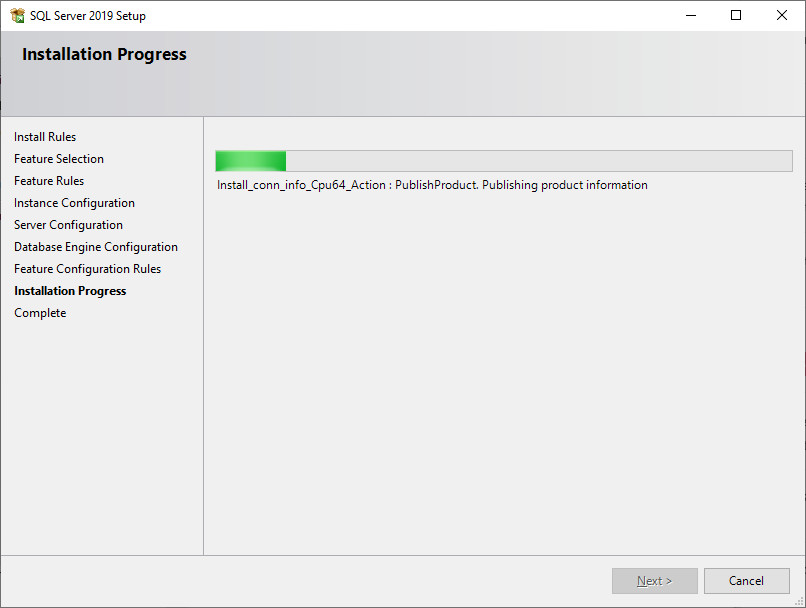
- Let the installation finish.
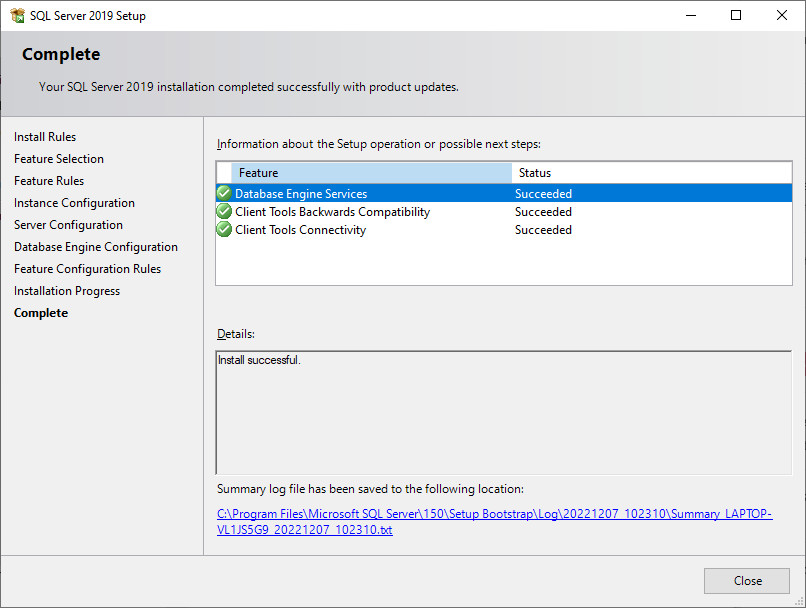
- Once the installation is complete the "SQL Server Installation Center" window can be closed.
Set Up Database (SQL Server)
- Run the
asqladm.exetool from the ADOxx installation directory. - Select the desired SQL Server instance under "Current instance", select "Create new ADOxx database" and click "Next >".
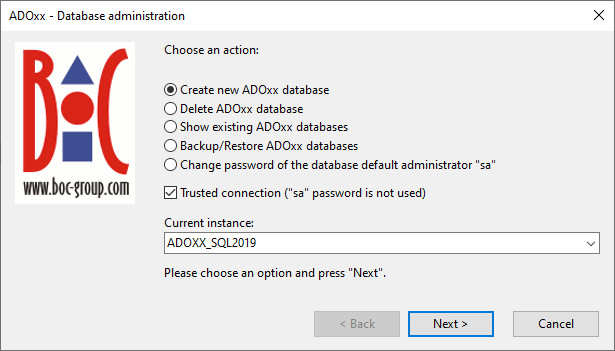
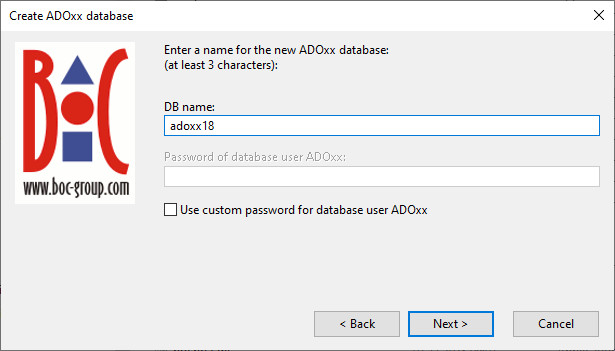
- Specify a database name that is not yet in use and click "Next >". The database name should be between 3 and 8 characters long and should only use ASCII letters and numbers.
- Enter your "Customer number" and "License number" and click "Ok"
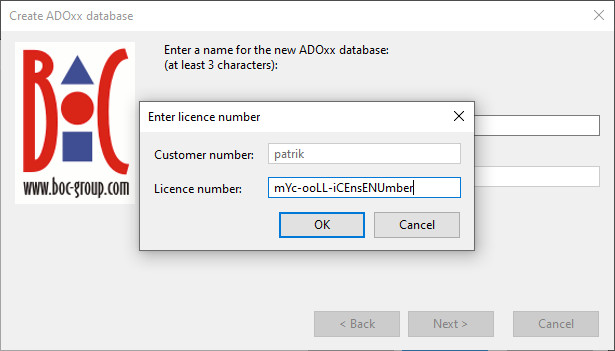
- If a wrong "Customer number" is already entered, then cancel out of the wizard (
asqladm.exe), delete thealicdat.iniandlicense.inifiles in the ADOxx installation directory and start the wizard (asqladm.exe) again.
- If a wrong "Customer number" is already entered, then cancel out of the wizard (
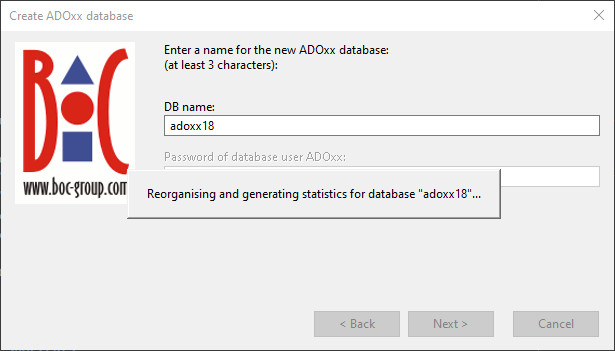
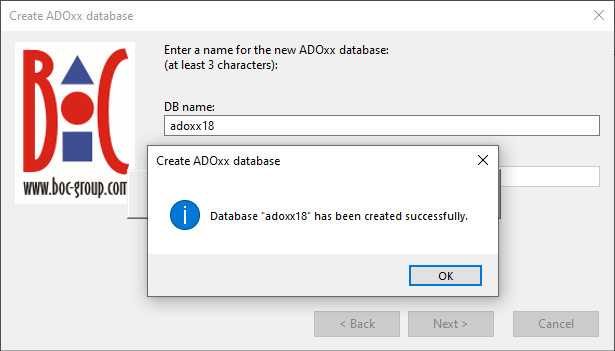
- Wait for the database creation to finish and confirm the dialog at the end.
- Close the wizard (
asqladm.exe).
An alternative to the asqladm.exe tool is to create the empty database, database user etc. manually and then use the adbinst.exe tool to initialize all the tables.
Create Shortcuts (SQL Server)
Adapt the available shortcuts for the tools to use the correct database and DBMS (SQLSERVER instead of SQLITE).